
Making the Bail- or something like it
Usually the last soldering step for a pendant is attaching a bail (the bail is what the chain goes through to hold the pendant on the chain). For this design however, I'm not making a bail per se, but rather attaching two rings to either side of the pendant. This allows me to have a little more say in the aesthetic, since I get to chose the chain for the pendant and if I want to put beads or other accents in the chain.
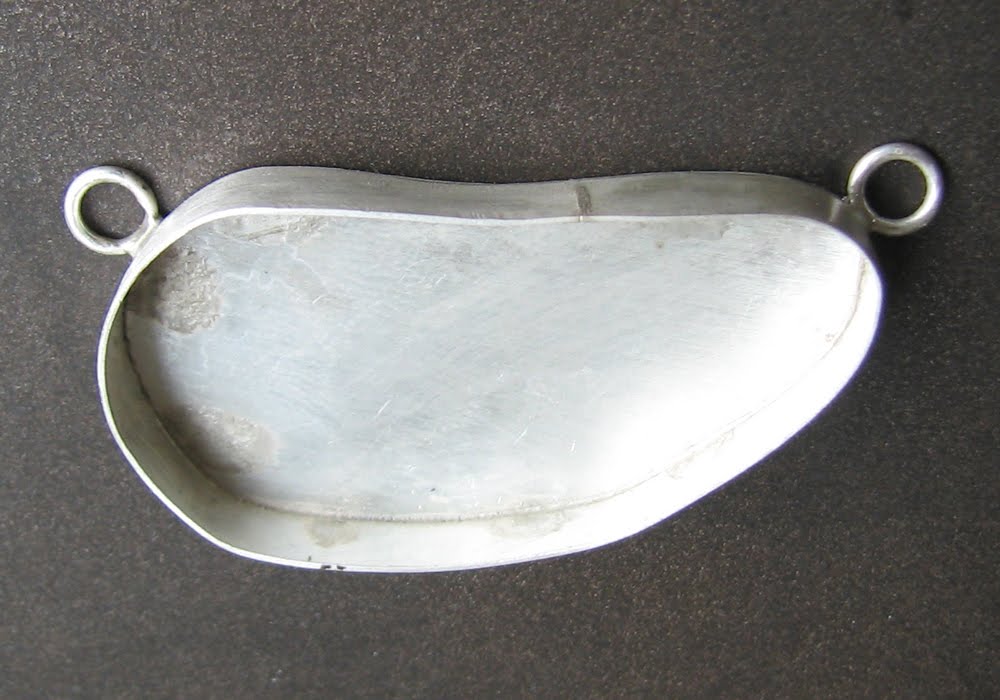
Before soldering...lining it all up;

In this case I'm using two jump rings that closely match the size of the chain. Each jump ring will be soldered so they will be permanently closed rings. I choose this way for two reasons. First, it's a precaution to prevent snagging (and potentially bending) if I choose to give it a high-shine finish by using a buffing wheel (I'm paranoid). Second, to clean the pendant later on I would take it off the chain. It's better not to have movable jump rings on the pendant because if opened improperly they might bend or look 'janky'.


If you recall from my first two steps of soldering, I've used hard and medium solder. To attach the jump rings I use easy solder. Once they are attached, it is back to sanding and finishing. You can see in the pics that I have trimmed the excess silver along the bezel and have done a bit of sanding...I tend to clean up the piece most of the way before setting the stone.

No comments:
Post a Comment